


A flood of chocolate.
I wanted chocolate for my birthday.

For my birthday this year I wanted a chocolate workshop. While taking a class would have been fun and is usually inspiring, I really wanted to work through the process with my family. Which sounds unpleasant to many people, but my kids get really excited about chocolate making. They have made chocolate bars with me before and they loved brainstorming their own personal chocolate bars - one decided on a pistachio and rose bar (I bow to his refined palate - my choice is always some combo of peanuts and chocolate) and the other wanted salty pretzels in his bar.
The first time I even imagined making my own chocolate bars was during the pandemic. Lockdown, and all that it entailed, required some regular infusions of chocolate. But, of course, we ran out of my favorites, and going to the store was more complex than ever. Seeing as I hate shopping even in the best of times, I came up with an alternate plan. I pulled out all the bits of chocolate that had been sitting around in our candy box, drifting to the bottom. Tiny Ghirdelli chocolate squares that were gifted in a mixed package, half a Hersheys bar from s’mores making, and an extra dark chocolate bar with a few pieces missing. They just aren’t what I want when I crave some chocolate, so they don’t get eaten.
I pooled them all together, melted them down and poured them, into a parchment-lined Pyrex container - its about 5 inches by 9 inches, I’d guess. I can’t remember what I made back then - I know I had a few variations. I cut them up into 3 rectangles and stored them in the fridge because I didn’t know anything about tempering chocolate - and the chocolate bars were very soft at room temperature.
They were delicious, and I felt very clever for my thriftiness.
Since then I bought a few silicone molds for making chocolate bars, and have invited the kids to play along with me. We even made chocolate bars as gifts. But the small chocolates - bonbons - felt too fussy and I didn’t really understand the process of how they are actually made.
But a few months ago, we watched a cooking show where they made bonbons, and it suddenly seemed like a really fun idea. My kids and I gave it a try, and while we ended up with things that tasted very good, the process was so awkward and messy. And I realized that tempering is a thing that actually makes a big difference.
Thus, what I really wanted to do for my birthday, was learn how to temper chocolates and attempt to make bonbons. My husband got polycarbonate molds and an infrared thermometer, plus 5lbs of chocolate. And we cleared the kitchen counters, and set out to make chocolates on a rainy Sunday afternoon.
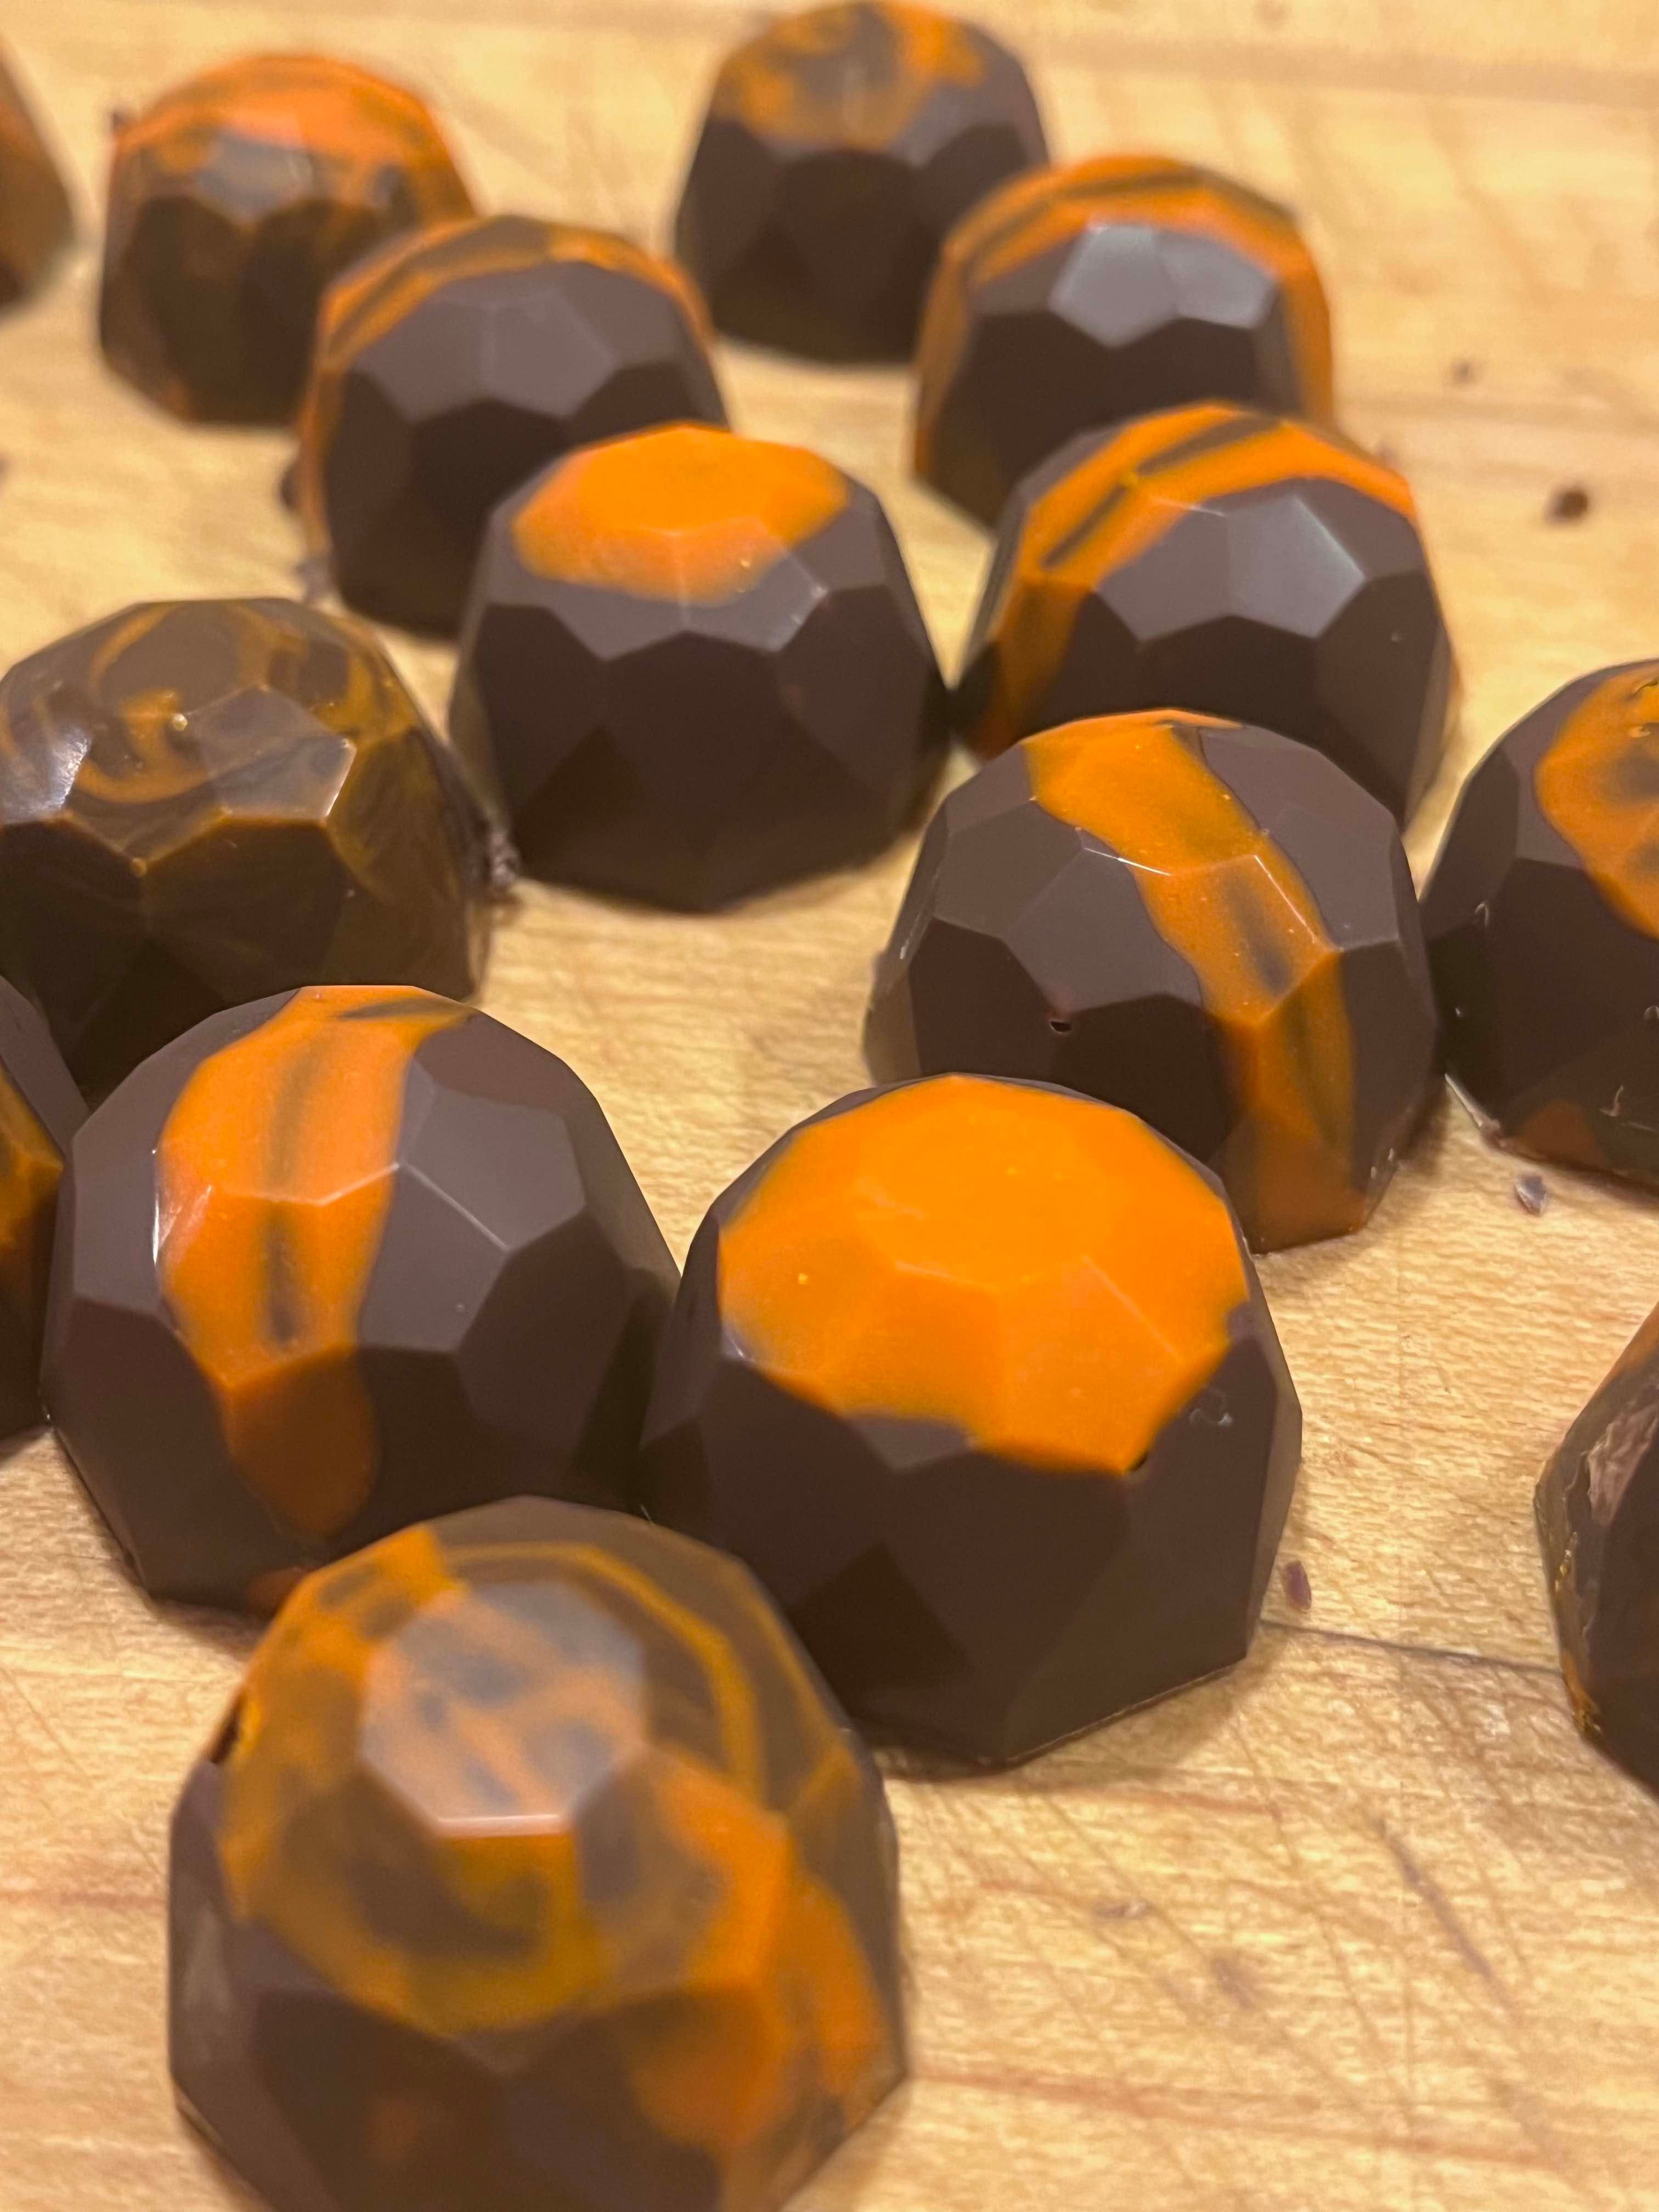
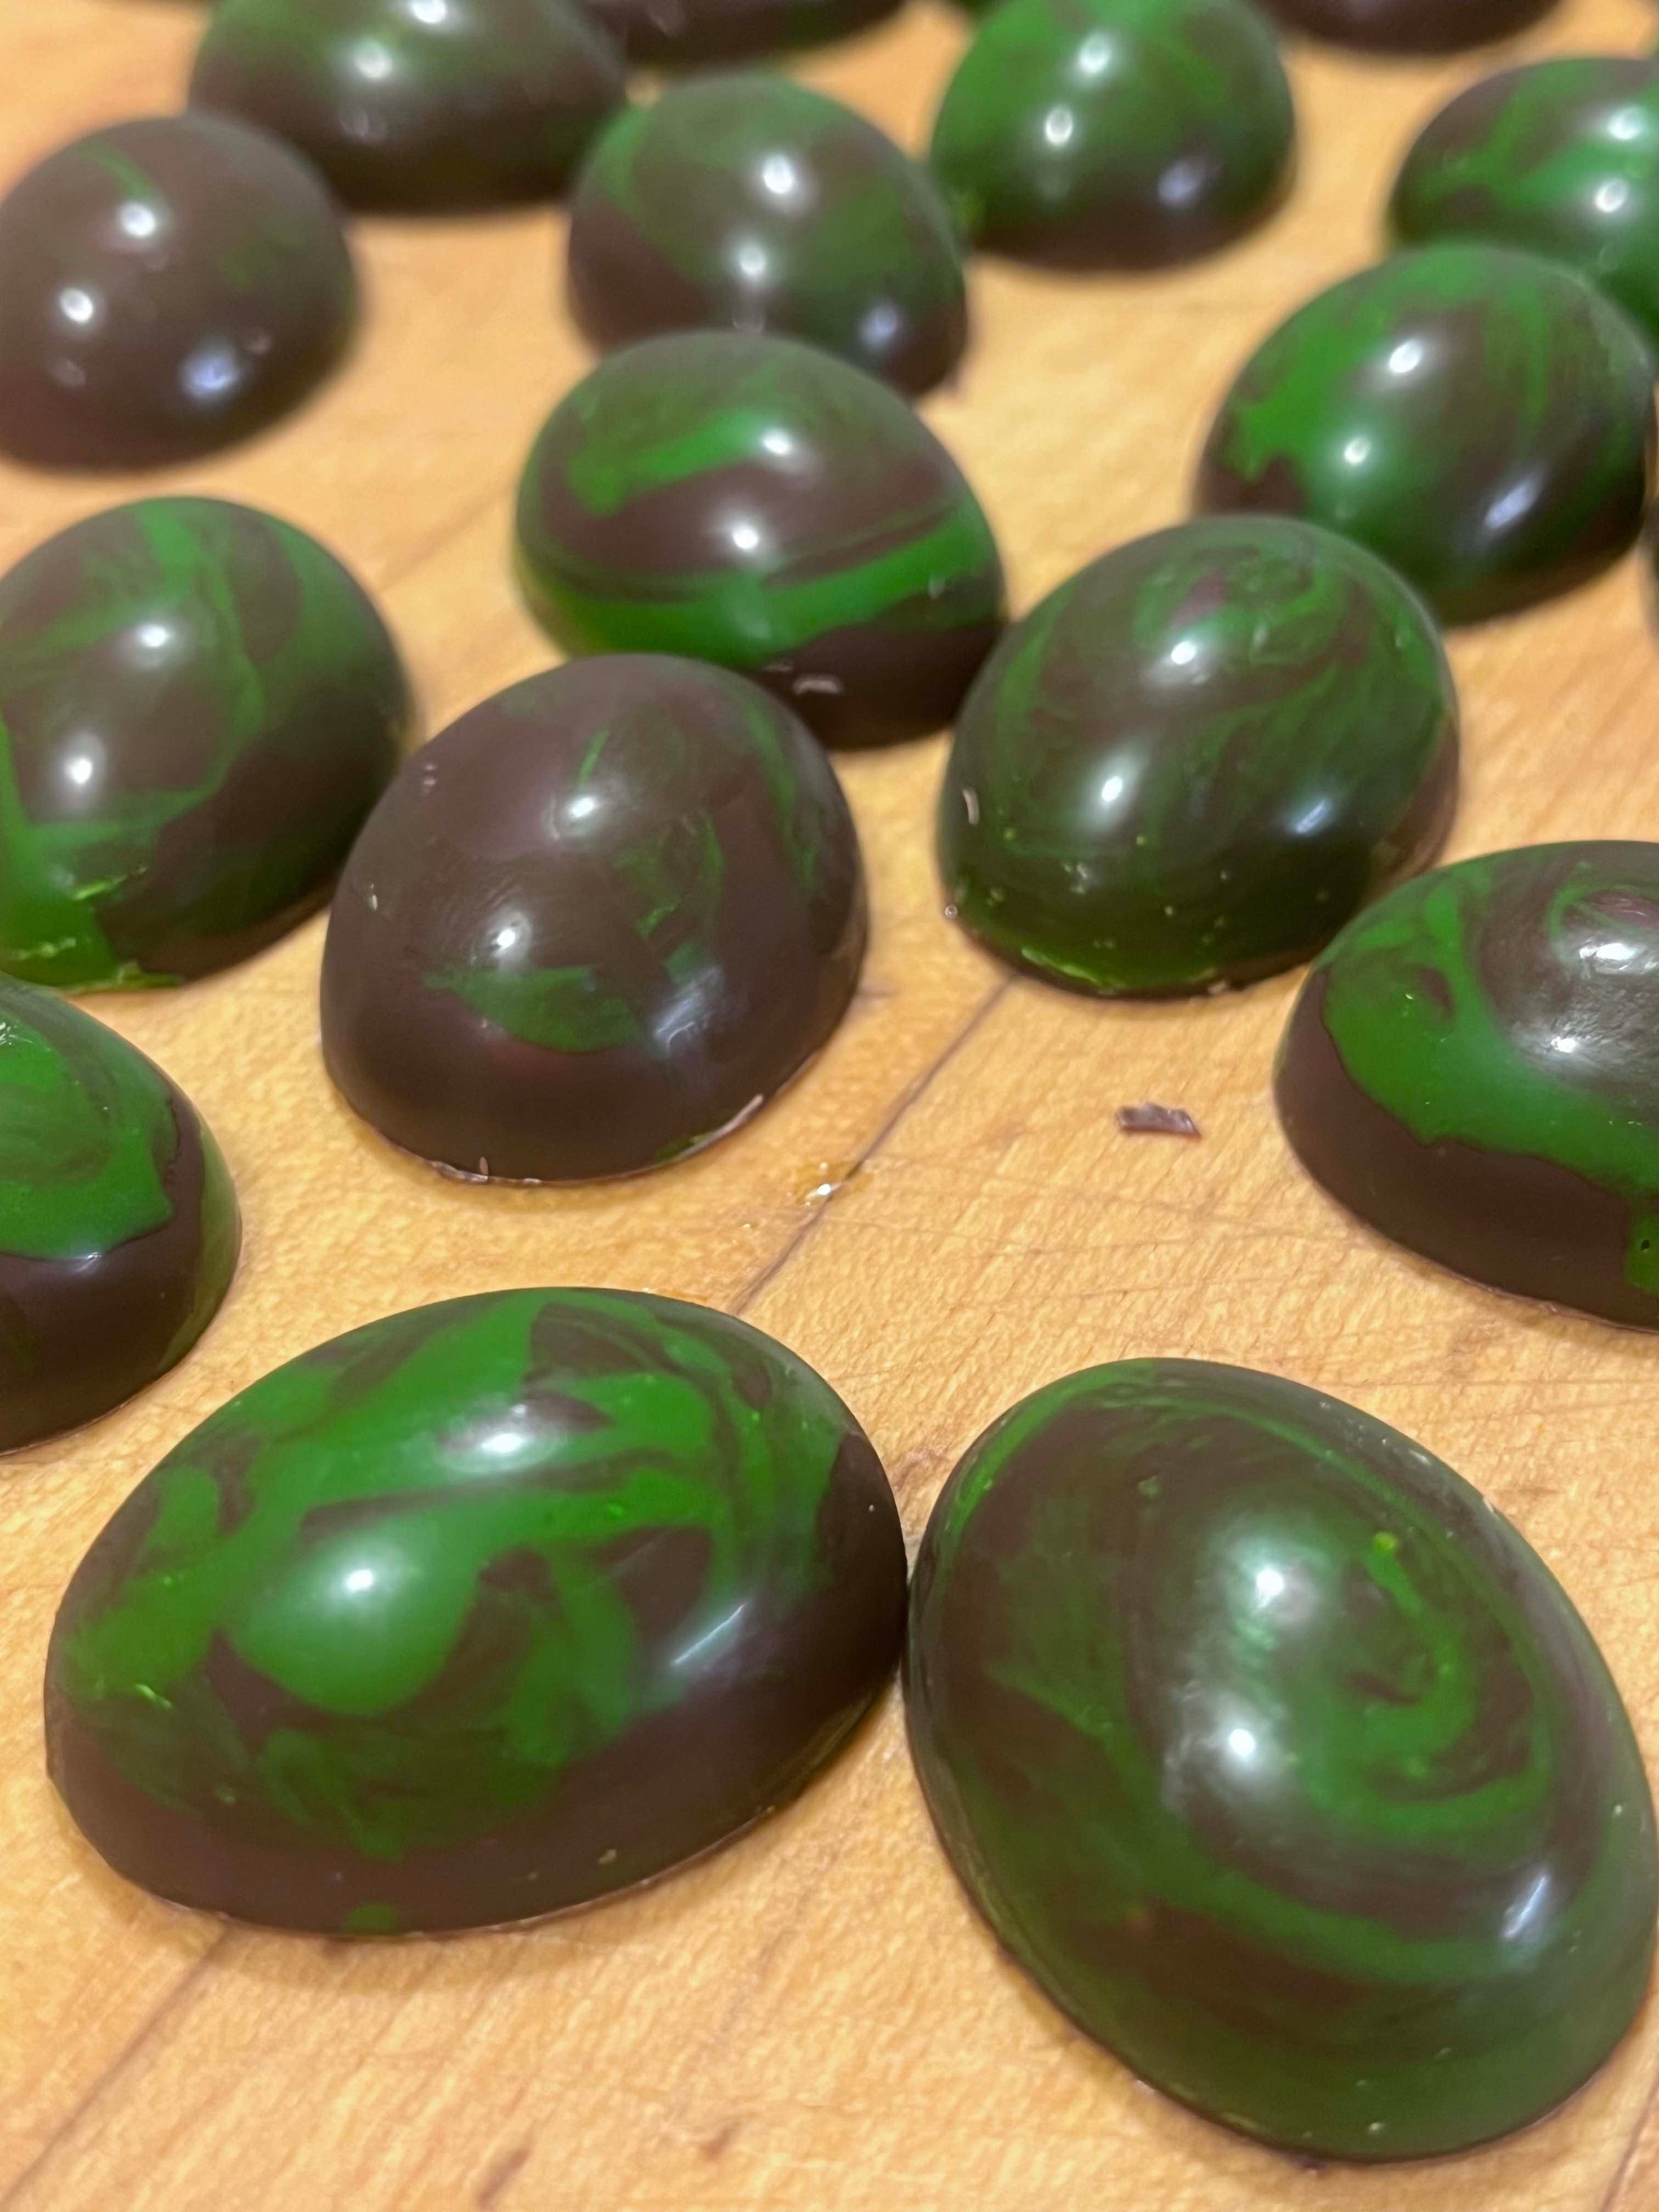
It was still mess - how chefs wear white is beyond me - but it began to make sense. Not every step worked out as I had hoped, but we did make some beautiful chocolates. The mint filling is so strong that it resembles toothpaste more than a York Peppermint Patty, but alas, my goal was to make pretty chocolates, so maybe next time I will plan to make tasty ones. I still have an eBay alert for small chocolate tempering machines, but it turned out to be less complex than I thought. Really, the infrared thermometer might have been the real game changer.
Things that helped me create my own home chocolate workshop.
I only just learned that the melting temperature is as important as the tempering temperature. I used to overheat the chocolate, even if i wasn’t burning it.
I don’t usually suggest buying things, but the infrared thermometer was such a game changer. It only tells the temp of the surface, but it’s easy to take multiple readings while you stir, so you know you are getting something more accurate. And it was only $20.
We did also buy polycarbonate molds, since the silicon are actually harder to use for bonbons - you can’t scrape excess chocolate, you can’t tap the tray on the counter to settle the chocolate/filling and release air bubbles, and you can’t hold it in one hand while you work. It’s certainly possible to use silicon - our first attempt a few months ago were cute and tasty, made in a silicon tray. Since it was the first attempt at bonbons, I chose the “diamond” (geodesic dome) and a “teardrop” (eye shape) molds - nothing that had corners or crevices that would make it harder to clean or get chocolates to release.
As I mentioned above - I got my start using rectangular Pyrex containers as my mold for chocolate bars, and I cut the bars to size after they were cooled.
We made Earl Gray Bonbons (Using the ganache in this recipe), Peanut Butter Bonbons (I used a buckeyes recipe for the peanut butter filling), and the mint creme filling was made following a cookbook I have, but its way too strong, so I’ll find a new one if we try them again.
The following video was very interesting, though bonbons are only one of the types of chocolates he makes. I didn’t learn how he stays so clean. The answer is assistants and editing, isn’t it?
And Jacques Torres makes it look easy.
This was just a fun one to watch.